Move Out Cleaning

Move Out Bathroom Cleaning Guide

Make moving out easier with this bathroom cleaning guide. We're giving you a step by step process, a list of supplies you'll need, and pro tips to get the job done with ease.

To deep clean or not?

The goal of cleaning when you move is either to get your security deposit back or to leave the home clean for the next occupant, sometimes both. Deciding whether the bathroom needs to be deep-cleaned depends on how well the bathroom was cleaned the last time it was deep-cleaned. This guide is for a bathroom deep clean in order to cover as much information as possible.
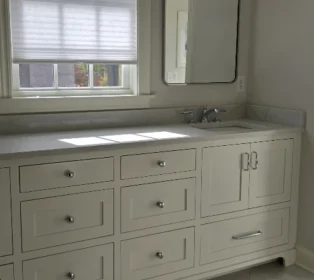
White bathroom with and empty white vanity after a move out deep cleaning.

Supplies

  1. Gloves
  2. The best degreaser you can find
  3. Plastic scraper or old credit card
  4. Sponge with a non-scratch surface
  5. A few rags
  6. A Bucket (to avoid multiple trips to the sink)
Pro Tips
  • Ensure the area you are working in is well ventilated. Set up a fan or open a window if necessary. You don’t want to breathe in product fumes.
  • Test a small area not easily visible to check the product won’t damage the surface.

Prep areas

Deep cleaning your bathroom when you move out means cleaning areas you might not have even considered cleaning during your time there. This includes baseboards, the top of cabinets, between vents and vent gaps, and more. We’ll be prepping areas that need to let products sit to be as effective as possible and be as easy as possible to clean.

1.
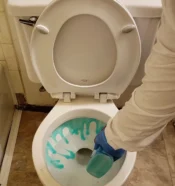
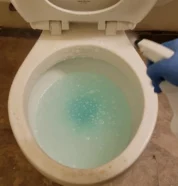
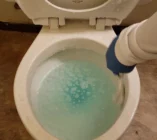
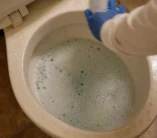
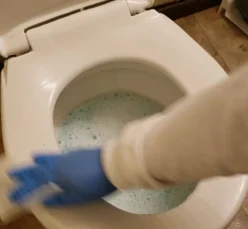
Prepping a toilet bowl with product for deep cleaning included in a move out cleaning service.
Prepping a toilet for deep cleaning by spraying with product included in a move out cleaning service.
2.
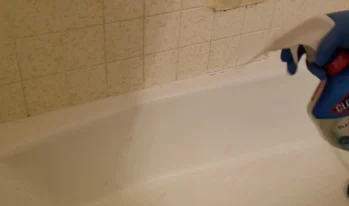
Prepping a bath tub and shower that is free of clutter for deep cleaning included in a move out cleaning service.
3.
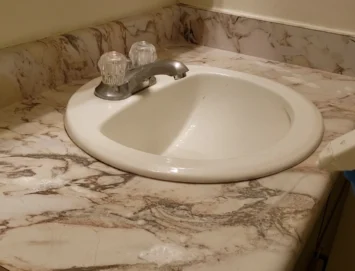
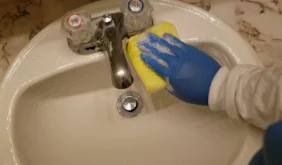
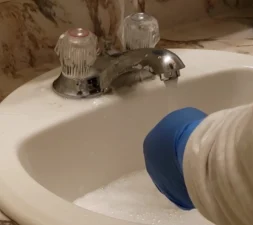
Prepping a sink free of clutter for deep cleaning included in a move out cleaning service.

Prep Steps

  1. Put on gloves
  2. Use the toilet bowl gel first, especially if it’s moldy or really dirty
  3. Spray the toilet rim, seat, cover, and tank with product
  4. Spray and spread the product on the tub and shower
  5. Spray sink and surrounding surfaces with product
Pro Tips
  • Use only one type of product at a time and avoid mixing chemicals. Our favorite products are bleach products because they penetrate deep and disinfect. 
  • The best products sit on the surface for a bit and wipe clean with little to no scrubbing. 
  • Prep from least to most dirty, so you can begin working immediately on the least dirty area/surface of the bathroom first, while the product sits on the rest of the prepped areas.

Scrub Steps

  1. Shower and tub
  2. Scrub from least to most dirty
  3. Work the product in circles
  4. Work from left to right and top to bottom
  5. Small items that need to be scrubbed
  6. Plugs, stoppers, aerators, and other small parts that need to be cleaned.
  7. Clean these before moving on to avoid soiling an already cleaned surface.
  8. Tub plugs, removable strainers, aerators, etc.
  9. *Use the same product that you’ll use on the sink.
  10. Sink 
  11. Scrub from least to most dirty
  12. Use your small brush to scrub the crevices and the corners of surfaces, handles, and faucets 
  13. Check for gunk under the aerator and around handles, and apply more product if necessary.
  14. Toilet
  15. The toilet is incredibly dirty and should be the last area to be scrubbed and disinfected
  16. Scrub all crevices in the toilet bowl
  17. Check for mold and mildew, and apply more product as needed 
  18. Use paper towels to wipe outer surfaces clean
  19. If the product sat on the surface for a while, cleaning should be easy.
  20. If cleaning is not easy, you may need more product or a more powerful one.
Pro Tips
  • Work consistently and effectively by scrubbing left to right and top to bottom. This avoids overlap and contamination of clean surfaces from dirty water or products. 
  • Don’t rush the process; this is a deep clean, it’s meant to clean and disinfect as much as possible. 
  • Degreaser may help heavily soiled surfaces. Make sure to rinse away the first product you used before applying the new product. Avoid mixing chemicals!

Scrub

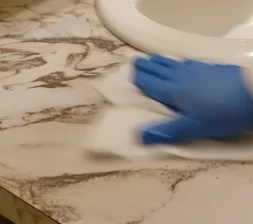
Working from least to most dirty areas, scrub surfaces using your sponge's non-scratch back, small brush, rag, or your preferred scrubbing tool for large surfaces. We normally work in the following order.

1.
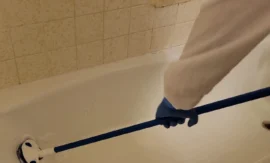
Scrubbing the tub on a move out service.
2.
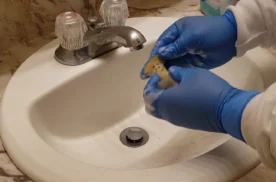
Scrubbing small bathroom items clean for a move out deep cleaning service.
3.
4.
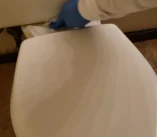
Scrubbing the toilet cover for a move out deep clean service.
Scrubbing the toilet rim for a move out deep cleaning service.
Scrubbing the back of the toilet rim for a move out deep cleaning service.
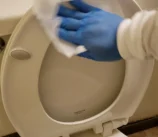
Scrubbing the toilet seat for a deep clean move out service.
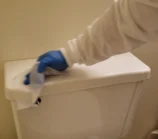
Scrubbing the toilet tank on a deep clean move out service.

Rinse and dry

Rinse the surfaces you applied product to using a clean bucket and sponge. Rinsing the tub and shower with a detachable shower head makes things a breeze. The area that will take the longest to rinse is the tub and shower, since they are large surface areas. Avoid splashing water everywhere to prevent flooding or potential mold growth. 

1.
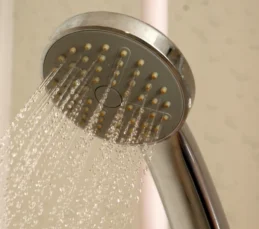
Shower head spraying water to rinse tub for a move out deep clean.
2.
Rinsing sink without splashing everywhere for a move out deep cleaning service.
Drying a sink with a clean and dry paper towel.
3.
Wiping the toilet with a damp rag for a move out deep clean service.

Rinse steps

  1. Shower/Tub
  2. Rinse the sponge first to avoid applying more unnecessary product.
  3. Rinse from top to bottom and left to right to be as efficient as possible.
  4. Ensure there is no product left to avoid soap scum build-up.
  5. With a clean, dry rag, give the faucet and handles a quick polish, no product needed, but if you want to use some, you can
  6. Reinstall any stoppers, plugs, strainers, or aerators.
  7. Let area air dry.
  8. Sink
  9. Rinse the sponge first to avoid applying more unnecessary product.
  10. Rinse from top to bottom.
  11. Ensure there is no more product on the surface to help prevent soap scum.
  12. Using a clean, dry rag, give the faucet and handles a quick polish.
  13. Let area air dry or use the clean dry rag to speed up the process.
  14. Toilet
  15. Wipe away any leftover product using a damp rag or paper towel. Wipe down the surface of the toilet until the product is off.
  16. Wipe from top to bottom.
  17. Remember to wipe down the toilet rim, seat, cover, and the outside surface of the toilet bowl.
  18. Let area air dry.
  19. Flush
  20. Remove gloves and put on a clean pair
Pro Tips
  • Use a rag to help rinse surfaces more quickly if the sponge is taking too long. 
  • Don’t squeeze water from the sponge or rag into the bucket!  

Steps

  1. Dust first with a damp rag or paper towel. Dust from top to bottom and left to right.
  2. Not all bathrooms have the same amenities; some don't have multiple cabinets or shelves. Dust and disinfect according to what you have.
  3. Apply disinfectant to surfaces that need it.
  4. Wipe surfaces clean.
  5. Sweep the floor, under any cabinets, and behind the toilet.
  6. Apply your preferred product to make floor scrubbing easier.
  7. Using a damp mop, work the product you applied into the floor.
  8. Rinse and wring the mop.
  9. Using a damp, not wet, mop, wipe the floor.
  10. Repeat until the surface is wiped clean and no product remains.
  11. You may have to change the water out or apply more product as you clean to get the best results.
  12. Apply disinfectant with a scent.
  13. Using a lightly damped mop, work the product you applied into the floor.
  14. Let the disinfectant sit according to the instructions on the product label.
  15. Rinse and wring the mop.
  16. Using a lightly damp mop, wipe the floor.
  17. Repeat until the product is wiped off.
  18. Let air dry
Pro Tips
  • Mop from the furthest point to the entrance, to the closest. This avoids overlapping and re-contaminating clean areas.

Dust, sweep, and mop

The rest of the bathroom should be a breeze, depending on how well it was cleaned previously.

1.
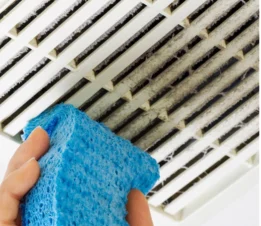
Example of dusting a bathroom steam vent for a move out deep clean service.
2.
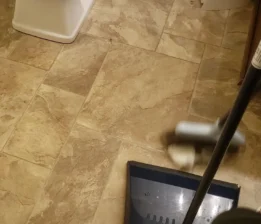
Sweeping debris in a bathroom for a move out deep cleaning service.
3.
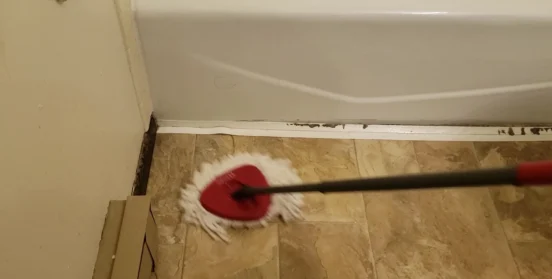
Mopping a clean bathroom for a move out deep clean service.

Don't stress

Moving can be an incredibly stressful affair. If you're renting, you might be looking to get your deposit back. Hire a reliable cleaning team to help clean your old or new home. Send us a message or give us a call!

By providing my contact information and submitting the form, I consent to: (1) receive marketing and non-marketing calls, texts, and prerecorded messages from MG Cleaning Services LLC (message and data rates may apply); and (2) MG Cleaning LLC's Privacy Policy and Terms and Conditions.

Notice to solicitors: if your message isn’t about our commercial or residential services, please send it to our webmaster—emails will be marked as spam if they are not related to our services.